Introduction
MailChimp provides a high-quality email service, and you have to pay nothing until you meet over 2,000 users. MailChimp calls it “Forever Free.” Many email newsletter services, including Aweber, provide more tools for dividing the lists and approaching individual subscribers if you are trying to sell items online. However, MailChimp is sweet, creative, and great for freelancers looking to keep in contact once or twice a month with buyers and perspectives.
Create a Sample Campaign
You will create a regular email marketing campaign in this case. To do that, proceed as follows:
- Select the Create icon.

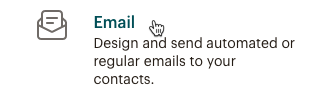
- Click on Email.
- Please type in a name for your campaign on the regular tab and click on “begin.”
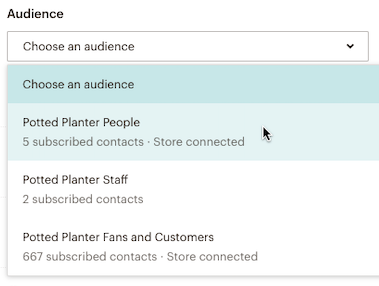
- To add your desired audience, click on “Add recipients” from the campaign builder.
- You will get a drop-down list of audience select the audience you want to operate with.
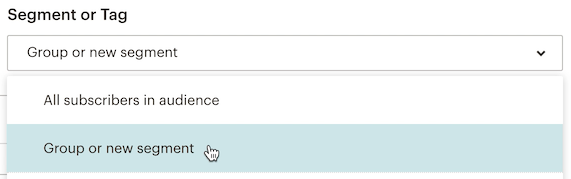
- Select a group or new segment from the segment or tag drop-down list.
- Here you need to set the email address condition as “is” and then your email address.

- Click on Update Recipient Count.
- Then Save.
- From the form panel, click on Add form.
- Type in your name and email address.

- On your email address, you will be asked to check the domain.
- Click on Save.
- Select Add a Subject in the Subject area.
- Enter the subject line for your email in the subject area.
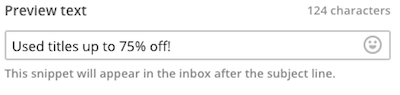
- In the Display text area, you can insert up to 150 characters that are presented in recipients’ inboxes next to the subject line. This field will be optional.
- Click on Save.
- Click on “Design email.”
- Get your design selected.
- Add test content to the design stage.
- Then click on Continue.
- Check your campaign URL in the Share Your Campaign section to ensure sharing between Facebook and Twitter is blocked.
Send Your Campaign
Now, you are all set to send your campaign. You will see a green checkmark in front of all fields. This ensures that you can send your campaign now. To send your sample newsletter, follow these steps:
- Click on Send.

- Click on Send Now to verify your send.
Your campaign is on its way!
Share the Campaign URL
You can post the campaign URL for the test newsletter on your site, your signup page, or whenever you send emails through your daily email client to allow users to subscribe after the campaign has been successfully sent. A sent social media campaign can also be shared with the Social Sharing feature.
Conclusion
This is how you can create your MailChimp newsletter and share it with your subscribers. You can create a sample newsletter to give an idea to your audience what they should expect from you. That’s it from our side!