Before leaving for some extended time off, I wanted to share how to create custom Discord animated emojis with my colleagues and also open source this super scientific creative process.
Why Discord Emojis?
Over the past 4 years, I have created many animated custom Discord emojis for my friends.
We use Discord emojis for all kinds of stuff: celebrate achievements, friendships, anniversaries, and more.
Tutorial
Duration: ~4 min per emoji
Skill needed: creativity
Required tools: Adobe Photoshop or similar tool to create an image file (.gif or .png)
If this already sounds complicated.
I will make your Discord Emoji!
Order yours now!
Step 1: Choose your best colleague picture
How to choose the best picture for your new emoji? Follow these guidelines:something funny is preferred
- something funny is preferred
- a background easy to remove
- good light
- not offensive
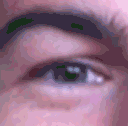
Let’s take my favorite profile picture as an example:

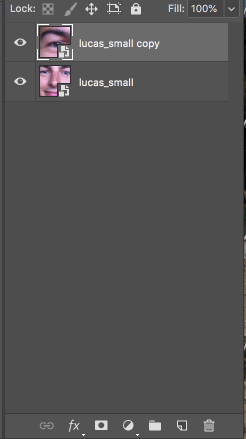
Step 2: Import it in Photoshop
Create a new file with the following dimensions: 128px width and 128px height.
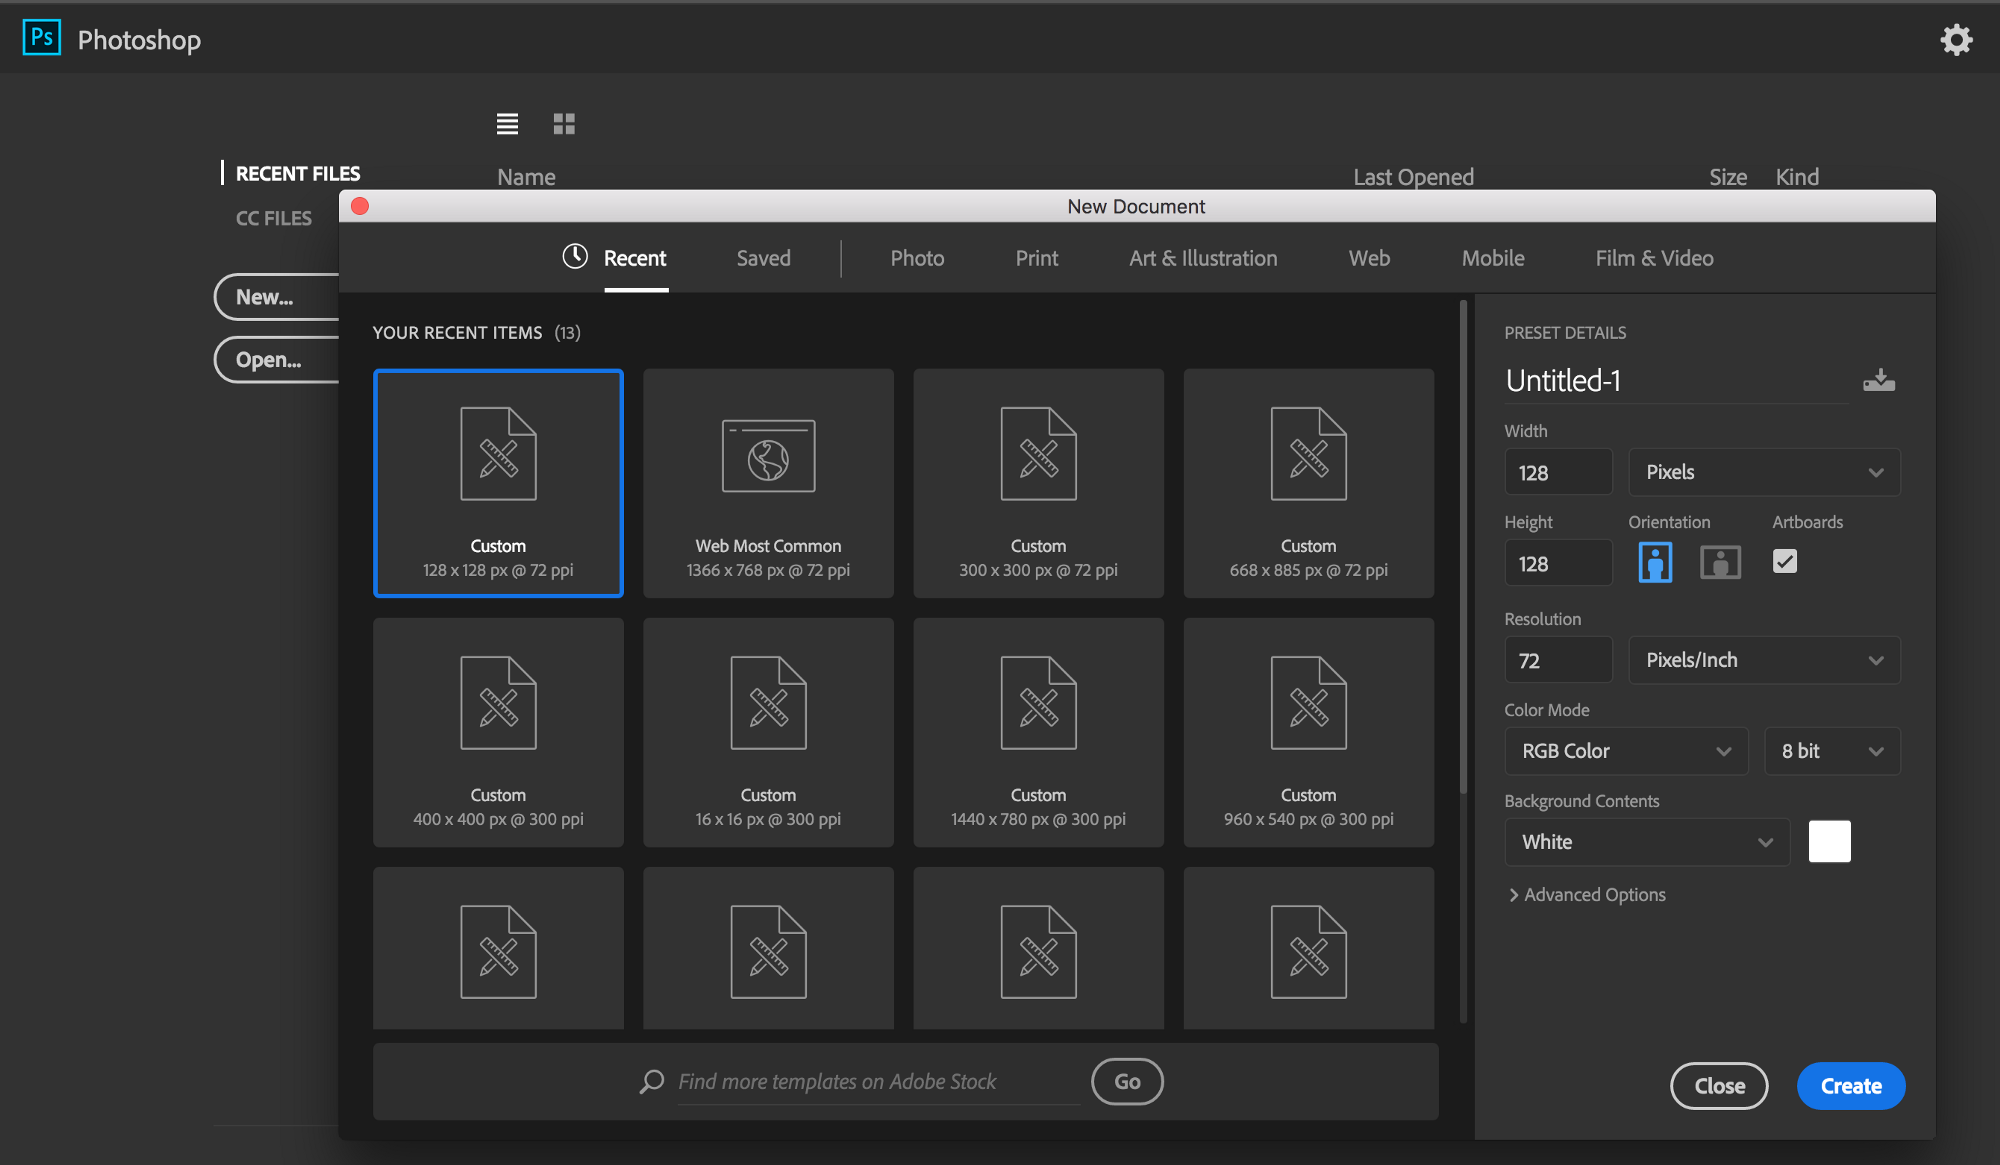
Drop the picture you previously selected into this new file.
Resize the picture you imported so it fits in the 128px square.

Make it a big face as emojis on Discord are pretty small. To get a preview you can zoom out and see how it looks.
If you don’t want to make an animated emoji you can stop here and jump to step 4 to export the image file.
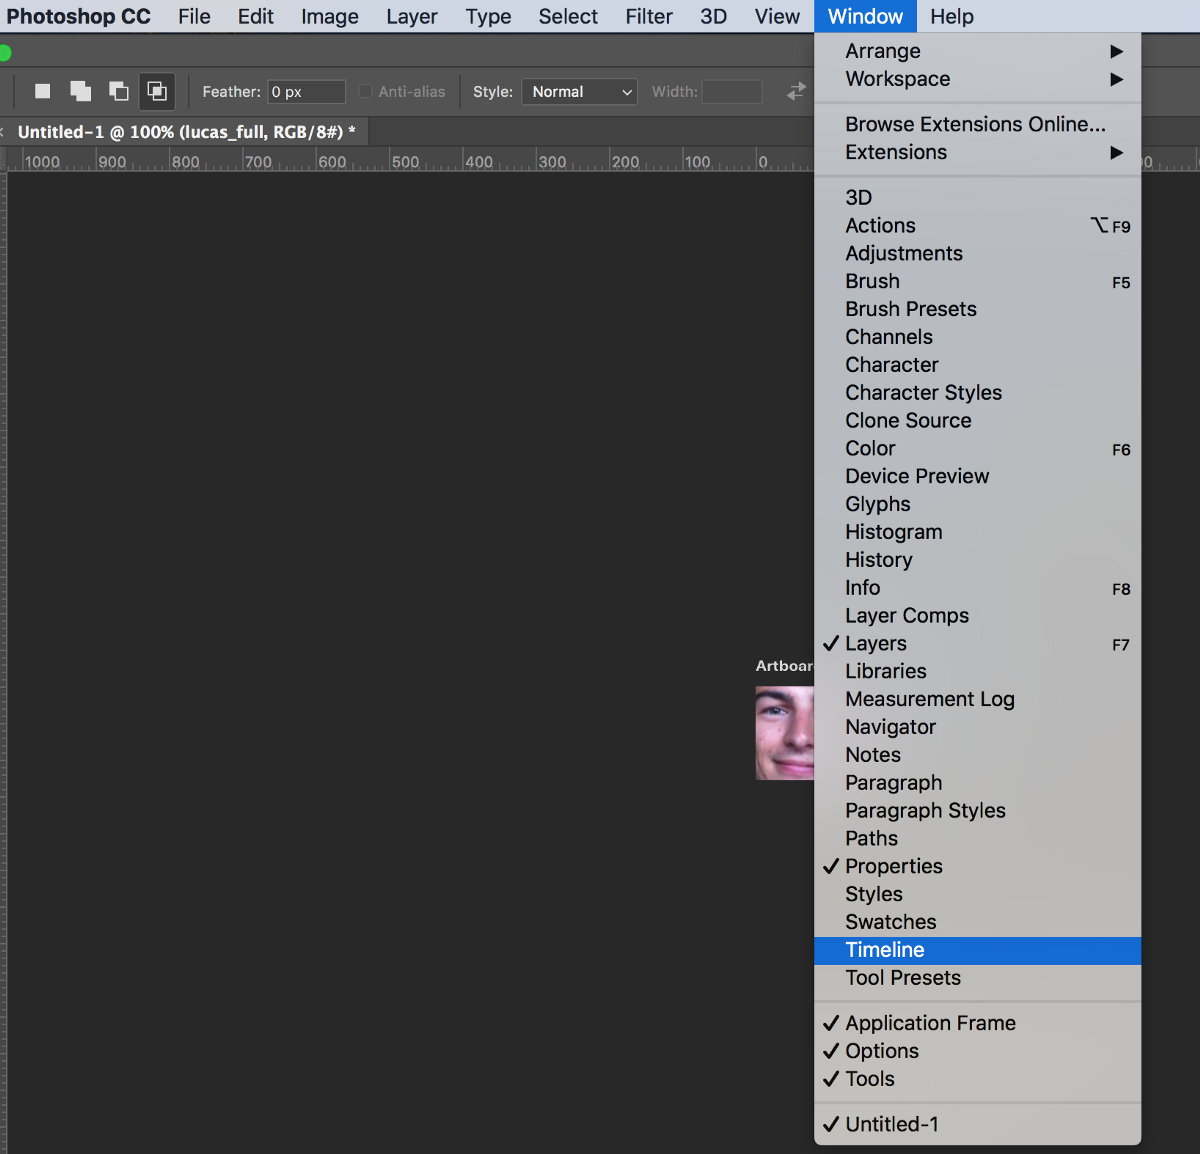
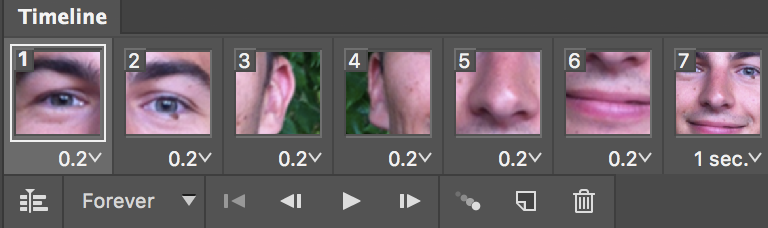
Step 3: Create frames and animation
Once you have the picture ready, it’s time to create the animation.
Open the window tab and click Timeline.
Then, think about how you want to animate the image.
In my example, I’ll zoom on my face.
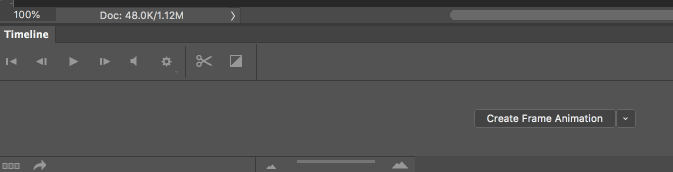
Create a new frame for each move.
3 to 5 frames are usually a good number of frames for an animation.
Now it’s time to get creative and make it happen.
Click on a frame and move the layer for this specific frame.
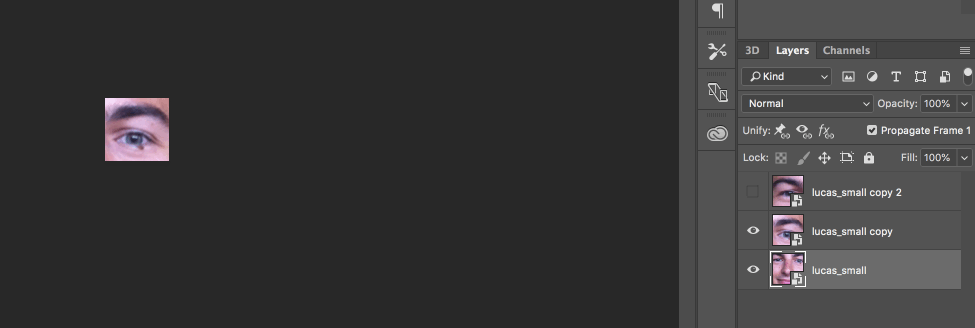
Then click on the next frame and do the same until you are done.
If you need to turn or resize make a copy of the layer. Or it will change for all frames.
In the end, you should have something like this in the timeline:
Feeling comfortable with the process above? Make it a better emoji with combining more than one picture. Like this one:

Step 4: Export file
Now that your creation is ready, it is time to export the file as .gif for an animated file and .png for a static image
Go to Save for the Web
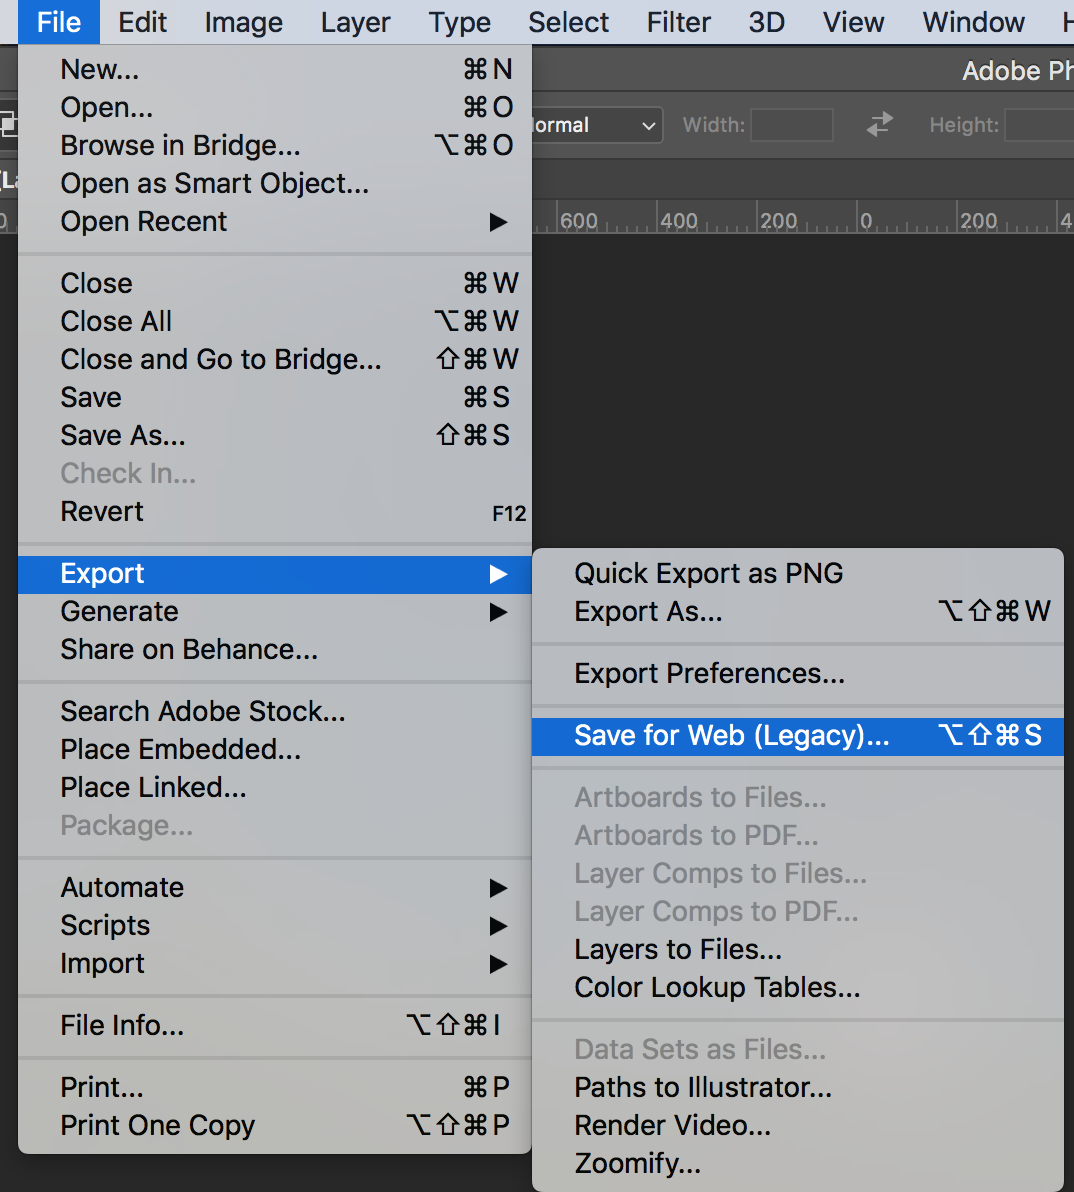
Size requirement: not more than 64kb and 128px width or height.
Here is the exported gif for my creation:
Step 5: Import to Discord
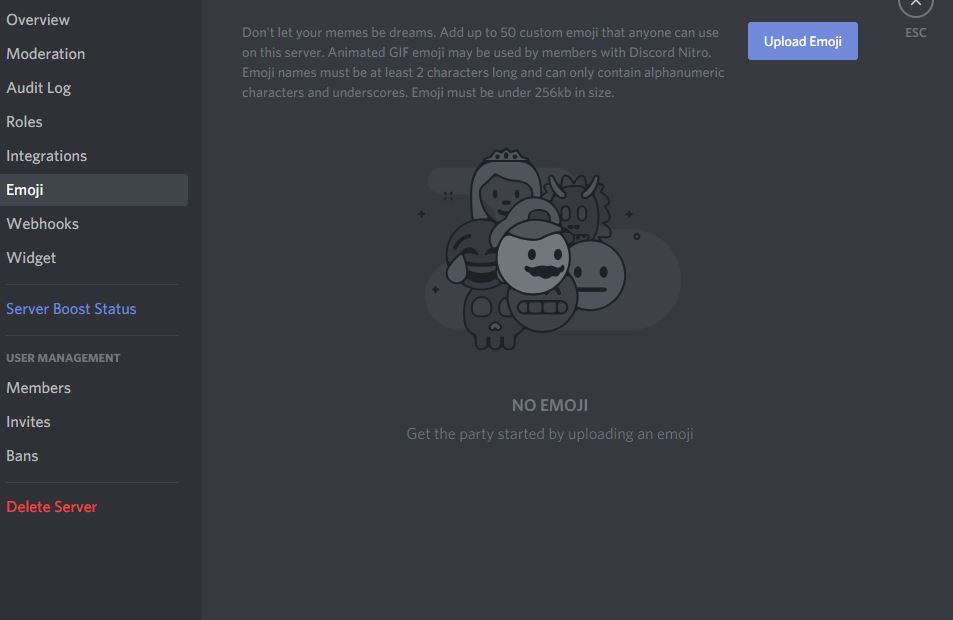
Now you need to upload to this emoji to Discord. Go to your Discord server settings and click Emoji.
Choose your newly exported file, give it a name and save!
If you need more help for this step, please use this help page from Slack: Create custom emoji
Step 7: Use it wisely
Thank you to my teammates.❤
Note that this works for custom Slack Emojis as well. Here is a comparison of Discord vs Slack.
The main difference being that Slack doesn’t support a gif as a profile picture. Discord does with a Nitro Subscription.