
Building relationships with your customers is one of the most important things you can do as a small business owner to increase your revenue.
MailChimp can take the load of building relationships from your back by automating that process for you for free. If your website is hosted on WordPress, and are interested in knowing the “how,” read on.
I will be walking you through every step that you should take to integrate the two services together using the MailChimp plugin, but first;
What Does the MailChimp Plugin Allow you to do in WordPress?
The MailChimp Plugin allows you to;
Add Contact Forms to your Website
Contact forms are what your customers or potential customers use to kick-start a conversation with you. MailChimp offers well-designed, pre-made contact and forms that help you to build your email list and communicate with your website visitors.
Creating a signup form is easy as choosing a template, generating a code, and then embedding that code onto your website.
Connect MailChimp to your WooCommerce Store
If you run an eCommerce store then you are in luck because MailChimp integrates with WooCommerce. Online stores these days need to build an email list because SEO and social media marketing are getting tougher and more expensive every day.
Start collecting emails at the checkout and more with this integration.
Send RSS Newsletter to Subscribers
Collecting emails is only one part of the job. The second and most important part of the job is to communicate and update your subscribers on your new posts.
Setting up WordPress RSS Newsletter in your MailChimp profile is very beneficial in that you can automate sending your list new post updates. This will help you concentrate on optimizing your business processes rather than on lousy, repetitive work.
How to Integrate MailChimp and WordPress
Step-by-Step
Now the meat of the post – If you’ve read up to this point, congratulations! It is time for me to lay out all the steps you will need to take to integrate WordPress and MailChimp.
If you want to integrate MailChimp for your WooCommerce store just jump to Step 5.
Let’s go!
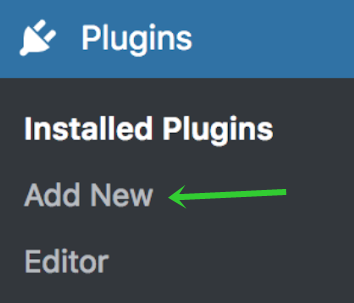
- Log in to WordPress with an Administrator Account then go to “Plugins,” then “Add New.”
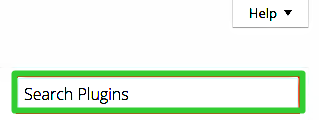
- Go to the search bar and type in “MailChimp.”
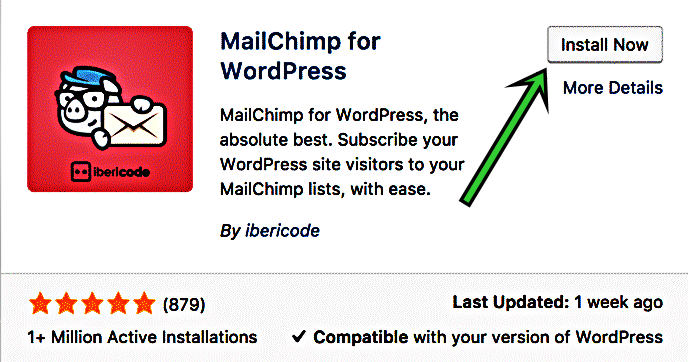
- Look for the “MailChimp for WordPress” plugin by ibericode and install it – then activate it.
- Having done that, your next move is to connect your MailChimp account with the WordPress plugin.
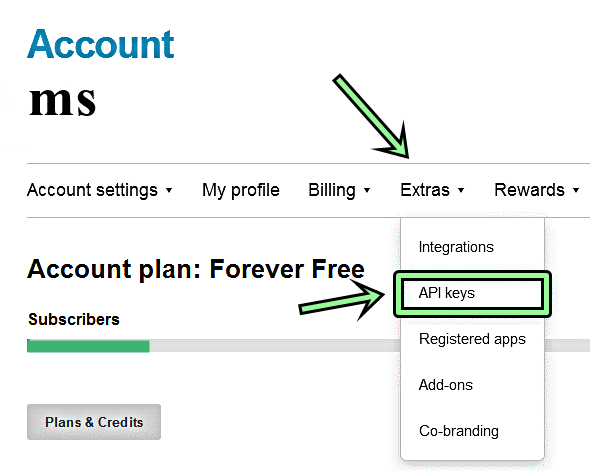
Log in to you MailChimp Account and visit Extras > API keys.
Go down and look for where it says, “Get your API key here.”
Click the hyperlink to generate your API key and copy it.
- The next step for you is to go back to your WordPress dashboard, then go to the “MailChimp for WordPress” settings.
Look for where it says “Your MailChimp API key” and paste the key you got from MailChimp there and click save, BOOM! you are good to go.

- If you are running a WooCommerce store you will have to install the “WooCommerce-MailChimp” plugin following the very same steps as shown above.
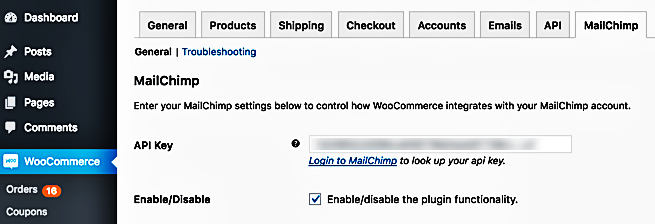
Go to “WooCommerce > MailChimp.”
Click on “Login to MailChimp” to look up your API key.
Get that key and paste it at the API section on WordPress and you are good to go.
You can now start marketing like a pro.