
Introduction
Groups are specialized areas of the audience that allow contacts to self-categorize using standardized responses you set based on their interests or priorities. Groups may be used for contact details you try to gain, such as favorite foods, desired places in the supermarket, or something else you want to remember.
You might want to organize your subscriptions into groups yourself. You can then submit targeted campaigns using community info. Groups work like sections and are the perfect way to handle different connections in the same audience as MailChimp. Here you will learn how to create groups in MailChimp.
Things to Remember
Before you start the process, here are a few things you need to remember:
- The group is the best solution when your new subscriber categorizes themselves when they subscribe to your campaign.
- In pop-up registration forms as well as the Signup Form content block on webpages, category fields are required, but not on hosting or integrated signup pages. Enhanced, paying users can custom-code the appropriate community field using the Advanced Forms method.
- Community fields occur at the end of the signup page for your audience, so they function differently from standard audience fields.
- There will be up to 60 group names for each audience. Categories of groups do not count against the 60-group limit.
- You may also use group segmentation to analyze contacts in a similar group or who are not in any group.
Create a Group from the Groups Page
Follow the given steps to create a group from the group’s page:
- Click on the Audience icon.
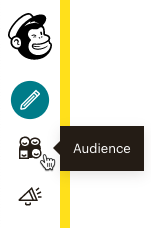
- Click on the dashboard.

- If you have multiple audiences, pick the ones that you want to work with by pressing the New Audience drop-down.
- Tap on the drop-down Manage Audience and pick Manage Contacts.
- Click on groups
- Press Create Groups if you want to expand the group options.
- Choose an alternative to see how the groups will look on the signup page.
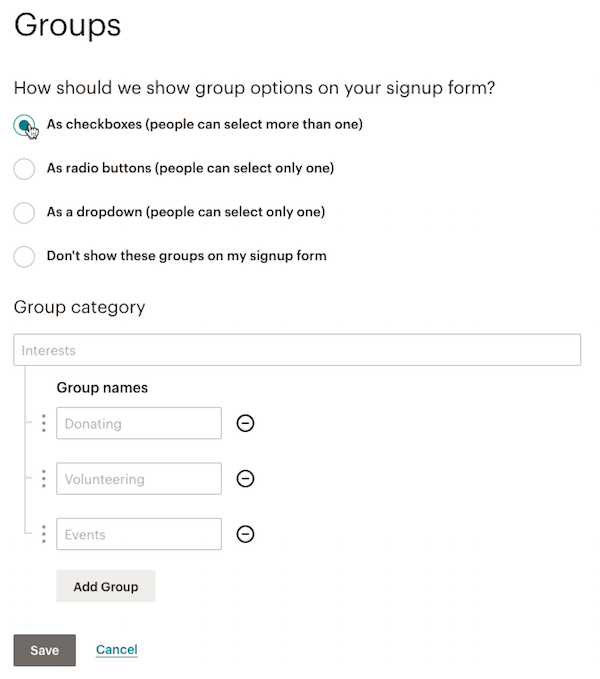
8. Enter a category for the group and a minimum of one name for the group. For your classes, the group division is the overarching category or pattern that is available to subscribers. To show various choices, build something descriptive, such as “favorite food,” and use group names.
9. To add other names to the group, tap on Add Groups.
10. Click on Save.
A success message is shown with the Import to Such Groups range or by clicking Done For Now.

Create a Group on Your Signup Form
If you want to create a group in the signup form, move down and follow these steps:
- Click on the Audience icon.
- Click on dashboard

3. If you have over one audience, pick the one that you want to work with by pressing the New Audience drop-down.
4. Click on the Manage Audience drop-down option and select the Signup form.
5. Pick a Builder Type.

- Make sure you’re on the “Build it” tab.

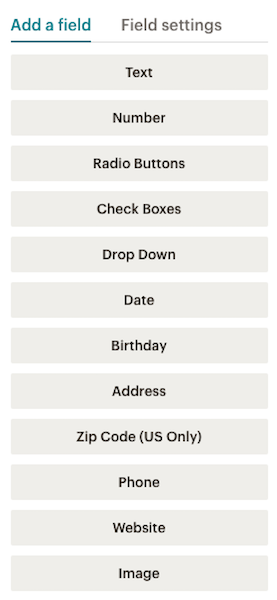
- Select the type of field for your group from the Add Field menu like Radio Keys, Check Boxes, or Drop Down lists.
- To set your priorities, select Field settings.
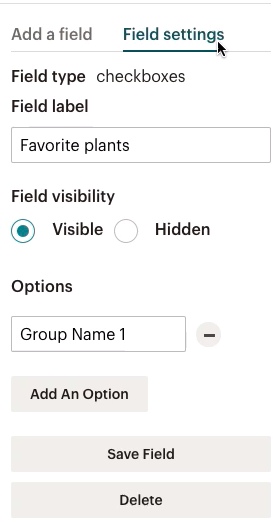
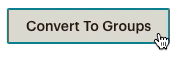
- Thus, the field name, visibility, group choices, and other settings may be edited here. You will also need to press Convert to Groups if you’re operating with a radio button or drop-down area.
- Click on Save Field.
Conclusion
Whenever you are dealing with a large audience, you need to know how to create groups in MailChimp. This is to distinguish the preferences of your audience. It also aids new subscribers when they do not have a previous understanding. They can join a group according to their taste to get perfect feed.