People often use MailChimp for their mailing list whenever they want their WordPress site visitors to subscribe to their MailChimp list. You can use a popup form or a traditional signup form. You can link to your MailChimp account and choose your desired audience list. Suppose there are categories in the audience list. In that case, you can specify default preferences for members or view interests in the email subscription type, such as checkboxes, radio buttons, or drop-downs.
Step by Step Process
The first time the user activates it, the subscriber popup page can be interactive since it displays on top of your website. Here’s how to add MailChimp popup to WordPress.
- Step One: Create a Form in MailChimp
- If you have a MailChimp account, log in to it. Otherwise, create a new account.
- Then you need to create an audience (email list) for the followers of your site.
- If you have built your current audience, press Manage Audience and then click Signup Forms.

- Select Subscriber popup from the signup form portion of your audience.

- Now you need to design and configure the form according to your choice.
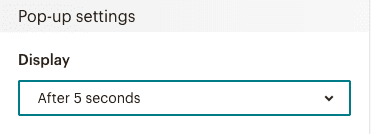
As soon as visitors open your tab, it is appealing to configure your form to show a popup. Settings must ensure that the popup flashes out after 5 seconds instead of instantly. Visitors will see the MailChimp form once available. Ensure that they get more time to acquaint themselves with your site. They are more likely to apply to your email list.
- Step Two: Connect Your Site to MailChimp
- You will see a popup Linking your site to display your popup on your site when building your form. Click on Connect Now. Furthermore, this option.
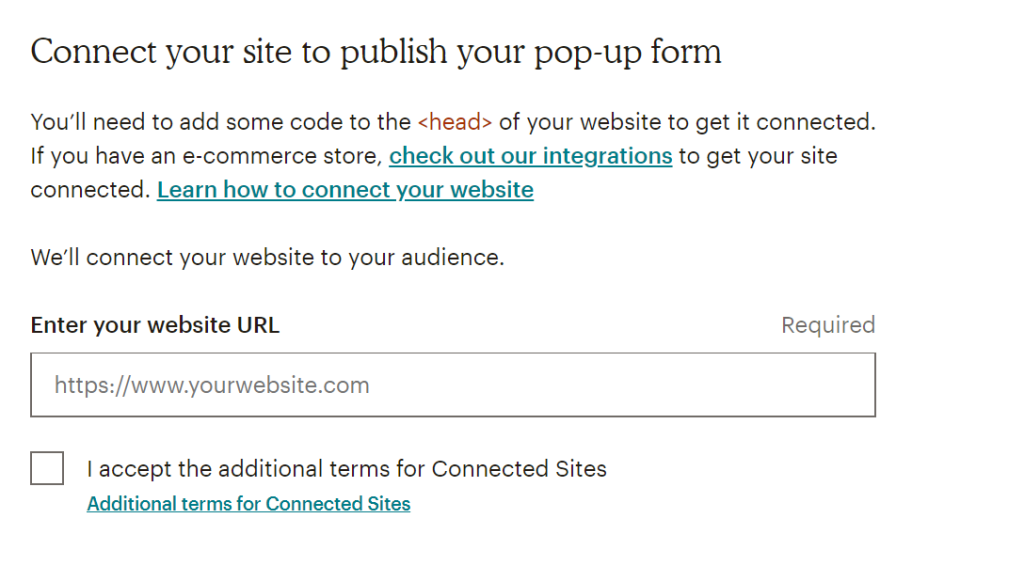
- You will need to enter your site URL, accept the terms and conditions, and proceed next where you will get a code:
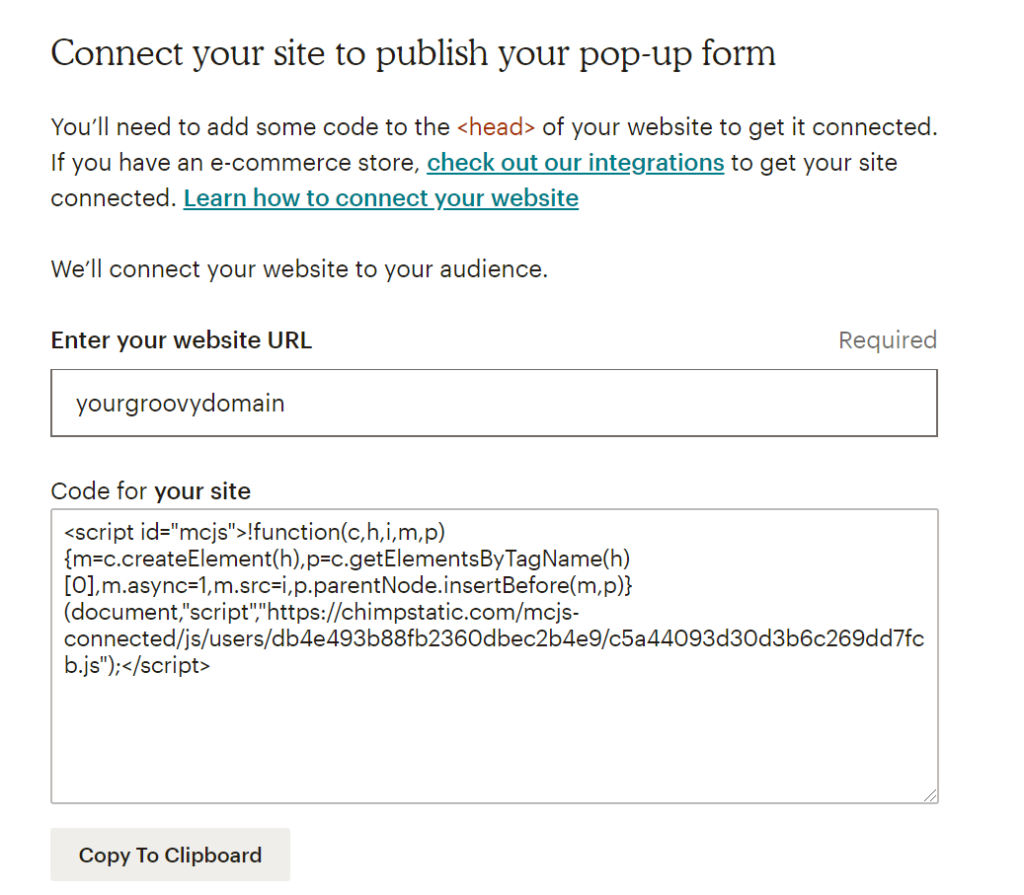
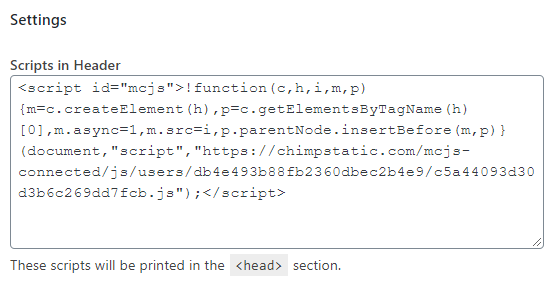
- Now you have to paste the same code to the <head> of your website. Although there are multiple ways to do it, one of them is:
- Install and activate the plugin named free insert Headers & Footers.
Further, move on to Tools/ Plugins/ Plugin Settings/ insert Header & Footers.
- Now paste the given code here in the scripts in the Header and click on save.
Ensure that your website is not in private or coming soon mode. Otherwise, MailChimp will be unable to verify your site.
- To check the status of your connection, click on the Check Connection button. MailChimp will check the site for the code. Once it is added properly, you will see a successful message on the screen,

- To start the display of popups on your site, make sure to turn on the popup.
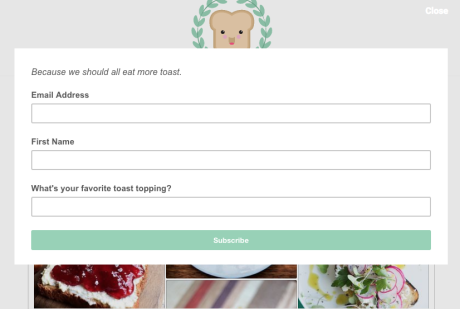
Whenever a visitor comes to your site for the first time, they will see a popup message along with your subscription form. Make sure to turn ON the popup so that it starts to be displayed at your site. However, in the visitor’s browser, a cookie is stored so they will not get the popup again.
Update Your Form
If you would like to make improvements to your form, go back to the MailChimp settings to make the modifications. They will immediately be mirrored as soon as you post those updates to the MailChimp form when the popup is displayed to the next user to your site. You do not need the code to be copied/pasted again!
Points to Remember
The popup form for MailChimp signup is configured with some functionality to check:
- If a person has already subscribed or pressed the Close button, it does not show the form anymore.
- The cookie blocks the display of the popup again!
If you’d like, you can remove the cookies to find out if the website is running fine.
Conclusion
In this article, we have successfully discussed the complete process of How to add MailChimp popup to WordPress. You can uplift your mailing list by adding a popup to your site. It is an easy process. You can do this by following the guide mentioned above.
